
Intercom system wiring refers to the physical cabling that connects intercom devices—allowing for two-way communication across rooms, floors, or even buildings. Whether in a smart home, apartment complex, school, or business, intercom installation relies on proper low-voltage infrastructure to ensure crystal-clear audio and real-time connectivity. This process involves running low-voltage wiring between indoor stations, entry panels, door release mechanisms, and networked hubs. And yes—wired intercom systems remain a superior choice for reliability, security, and long-term performance.
🏡 Who Needs Intercom System Wiring?
The demand for intercom installation is rising across industries. Here’s who benefits the most:
🔑 Residential:
-
Single-family homes (internal room-to-room or entry communication)
-
Gated driveways or multi-entry properties
-
Apartments or multi-tenant homes
-
Smart homes integrating with doorbells and cameras
🏢 Commercial:
-
Schools, daycare centers, and universities
-
Office buildings or warehouses
-
Medical and dental practices
-
Hotels and hospitality centers
-
Retail stores with backroom access control
Whether you need a basic home intercom wiring setup or a complex commercial intercom system, proper cabling is the foundation.
🛠️ Types of Intercom Systems and Their Wiring Requirements
1. Two-Wire Intercom Systems
Simple, analog systems used in traditional residential setups.
🟢 Cost-effective but limited in features.
2. Four-Wire Intercom Systems
Separate conductors for audio, video, power, and control.
🔵 Ideal for two-way intercom systems with door release functionality.
3. IP-Based or Smart Intercoms
Use Cat5e/Cat6 low-voltage wiring for audio, video, and network integration.
🟣 Best for commercial use or smart home compatibility.
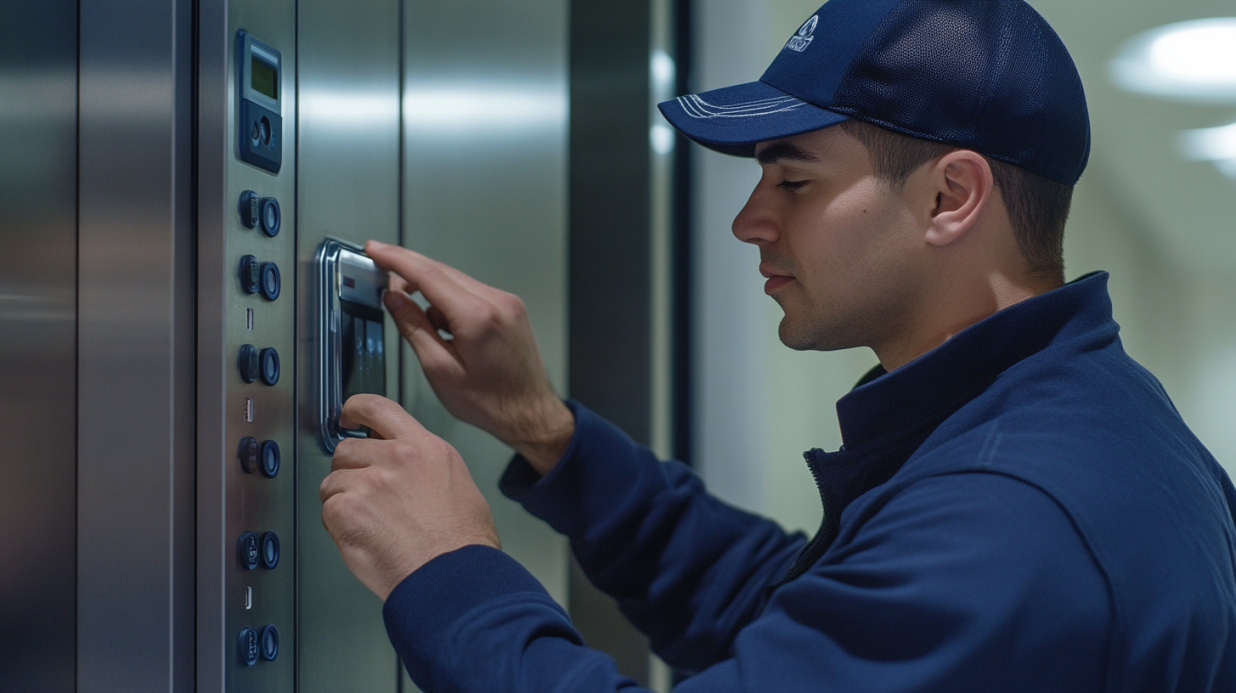
🔌 Key Components of Intercom System Wiring
A professional intercom installation includes the following wired components:
-
Intercom master stations
-
Substations (room or office units)
-
Door entry panels with call buttons and video cameras
-
Electric strike or magnetic locks (for door control)
-
Power supply units (12V or 24V DC, depending on model)
-
Structured cabling using Cat5e/Cat6, 18/2, or 22/4 cabling
-
Conduits and wall plates for clean installation
All wiring must be planned according to system type, distance, and power needs to avoid signal drop or audio distortion.
⚙️ Installation Process for Intercom System Wiring
Step-by-Step Overview:
-
System Planning & Location Mapping
-
Identify zones, entry points, and control panels
-
-
Wiring Route & Low-Voltage Cable Selection
-
Choose cable based on distance and signal type (audio/video/data)
-
-
Wall Penetration & Conduit Setup
-
Drill and fish wires discreetly for a clean finish
-
-
Mounting Master & Sub Stations
-
Secure all units at user-friendly heights
-
-
Power & Door Lock Integration
-
Connect to power and door control if applicable
-
-
Testing & Troubleshooting
-
Check signal clarity, call functions, and network connectivity
-
-
Final Walkthrough & System Training
🔎 Common Intercom Wiring Mistakes to Avoid
When handling intercom system wiring, beware of these costly errors:
-
Using the wrong gauge or type of cable
-
Overextending cable beyond recommended distance
-
Placing wires near high-voltage lines (causes interference)
-
Failing to label cables during multi-unit installations
-
Ignoring future upgrades (like video or smart integration)
-
Improper grounding or power supply mismatch
Professional installers prevent these issues by adhering to intercom wiring standards and system-specific manuals.
✅ Intercom System Wiring Checklist
Before beginning a project, ensure:
-
You’ve selected the right type of system (analog, 4-wire, IP-based)
-
Cable runs are pre-mapped and interference-free
-
Door access points are properly integrated
-
Power supply voltage matches device specs
-
Backup power or surge protection is in place
-
All connections are terminated and labeled
💡 Benefits of a Professionally Wired Intercom System
-
🚀 Reliable Performance (no dropped signals or battery issues)
-
🧠 Expandable Infrastructure for future upgrades
-
🏆 Improved Security via video and door lock control
-
🗣️ Clear Communication with no Wi-Fi lag
-
🏢 Professional Aesthetics with concealed wiring and clean finishes
🎯 Final Thoughts + Call to Action
From front-door security to seamless internal communication, expertly installed intercom system wiring enhances safety, convenience, and efficiency across both residential and commercial environments.
👉 Schedule a professional intercom installation consultation today and let us design a wiring plan that’s clean, expandable, and rock-solid.
From basic room-to-room intercoms to smart, multi-building solutions—we wire systems built to last.